
Introduction
For decades, the fitness industry has sold us a specific dream: a gym membership, shiny chrome machines, fluorescent lights, and expensive trainers. While gyms are excellent tools, the COVID-19 pandemic and the rise of remote work have proven one undeniable truth: You do not need a gym to get in the best shape of your life.
Your body doesn’t care if the resistance comes from a $5000 leg press machine or a backpack filled with books. It only cares about one thing: Tension.
At Healthy.Azonpickr, we understand that life is busy. Commuting to a gym takes time, and crowded spaces can be intimidating. That is why we have created this ultimate guide to home fitness. Whether your goal is to shed unwanted fat, build lean muscle, or simply improve your cardiovascular health, this guide contains everything you need.
We will move beyond simple “follow-along” videos and dive deep into the science of hypertrophy (muscle growth) and metabolic conditioning, teaching you how to engineer an athlete’s physique from the comfort of your home.

The Science of Home Training: Why It Works
Many skeptics claim that you cannot build muscle without heavy weights. This is physiologically incorrect.
Muscle hypertrophy occurs when you subject your muscle fibers to tension beyond what they are accustomed to. This tension causes micro-tears in the muscle fibers. When you rest and eat enough protein, your body repairs these tears, making them thicker and stronger in the process.
This is the principle of Progressive Overload. In a gym, you usually add weight to a bar. At home, you must use creativity to apply this principle:
- Volume: Doing more reps (e.g., moving from 10 pushups to 20).
- Intensity: Shortening rest times between sets.
- Tempo: Slowing down the movement to increase “Time Under Tension” (TUT).
- Range of Motion: Moving through a deeper range of motion to engage more muscle fibers.
Understanding this concept is the difference between staying skinny and actually seeing results at home.
Equipment vs. Bodyweight: What Do You Really Need?
One of the biggest barriers to entry is “analysis paralysis”—wondering what to buy. Here is the truth: Bodyweight training is sufficient for beginners and intermediates. However, having minimal equipment accelerates progress.
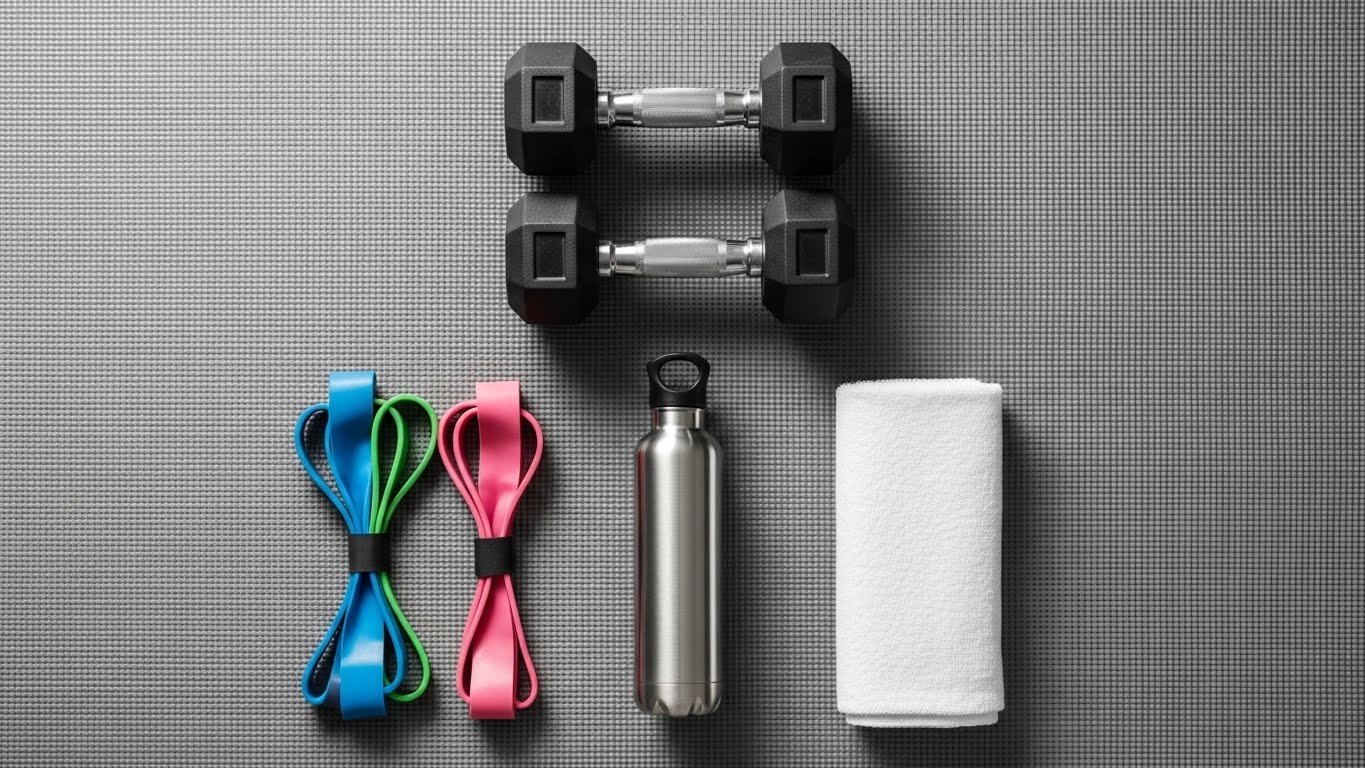
The Essentials (Must-Haves):
- A Good Mat: Essential for floor work and protecting your joints.
- Resistance Bands: These are the secret weapon of home fitness. They are cheap, portable, and provide variable resistance (harder at the top of the movement). You can replace an entire dumbbell rack with a set of strong bands.
- Doorway Pull-Up Bar: For upper body pulling (back and biceps), which is hard to replicate without equipment.
The “Nice to Have”:
- Adjustable Dumbbells: Great for adding resistance to lunges, shoulder presses, and rows.
- Kettlebells: Excellent for ballistic movements like swings, which build power.
Check out our recommended gear for home setups: [Link to: Best Home Gym Equipment Under $50]
The Anatomy of a Workout: Your Full-Body Routine
To achieve a full transformation, we need to cover all major movement patterns:
- Squat: Lower body (Quads, Glutes).
- Hinge: Posterior chain (Hamstrings, Glutes, Lower back).
- Push: Chest, Shoulders, Triceps.
- Pull: Back, Biceps.
- Core: Abs, Obliques.
Below is a structured workout plan to be performed 3-4 times per week. Always rest at least one day between sessions.

Part 1: The Warm-Up (Do Not Skip This)
Duration: 5-10 Minutes
Cold muscles are prone to injury. A warm-up raises your body temperature and lubricates your joints.
- Jumping Jacks: 1 minute (to get the heart rate up).
- Arm Circles: 30 seconds forward, 30 seconds back.
- Bodyweight Squats: 15 reps (very light tempo).
- High Knees: 30 seconds (loosen up hips).
Part 2: Lower Body & Legs (The Foundation)
1. Bodyweight Squats
- Target: Quadriceps, Glutes.
- Form: Feet shoulder-width apart. Keep your chest up and lower your hips back and down as if sitting in a chair. Go as deep as mobility allows.
- Progression: Add a jump at the top (Jump Squats) or hold a heavy object at chest level (Goblet Squat).
- Sets/Reps: 4 sets of 15-20 reps.
2. Reverse Lunges
- Target: Glutes, Hamstrings, Balance.
- Form: Step back with one leg, dropping the back knee towards the floor. Keep your front shin vertical. Push through the front heel to return to standing.
- Sets/Reps: 3 sets of 12 reps per leg.
3. Glute Bridges
- Target: Glutes (often underactive).
- Form: Lie on your back, knees bent, feet flat on the floor. Lift your hips towards the ceiling, squeezing your glutes hard at the top. Hold for 1 second, then lower.
- Sets/Reps: 3 sets of 20 reps.
Part 3: Upper Body Push (Chest, Shoulders, Triceps)
4. Standard Push-Ups
- Target: Pectorals, Deltoids, Triceps.
- Form: Hands slightly wider than shoulders. Keep a straight line from head to heels (don’t let hips sag or pike). Lower chest to floor, press up.
- Modification: Drop to knees if standard form is too hard.
- Sets/Reps: 4 sets to failure (do as many as you can).
5. Pike Push-Ups (Shoulder Builder)
- Target: Deltoids.
- Form: Get into a push-up position but walk your feet forward and lift your hips high (forming an inverted V). Lower your head towards the floor between your hands and press back up.
- Sets/Reps: 3 sets of 10-12 reps.
6. Diamond Push-Ups (Triceps)
- Target: Triceps.
- Form: Standard push-up position, but place index fingers and thumbs touching to form a diamond shape under your chest.
- Sets/Reps: 3 sets to failure.
Part 4: Upper Body Pull & Core (The Back and Abs)
Note: Pulling exercises are hard without a bar. If you have no bar, use a resistance band looped around a door handle.
7. Resistance Band Pull-Aparts (Door Anchor)
- Target: Rear Delts, Rhomboids (Upper Back).
- Form: Hold the band with both hands straight out in front of you. Pull the band horizontally apart, squeezing your shoulder blades together at the back.
- Sets/Reps: 4 sets of 15 reps.
8. Plank
- Target: Core stability.
- Form: Rest on forearms and toes. Body straight as a board. Squeeze abs and glutes tight. Hold as long as you can without shaking excessively.
- Sets/Reps: 3 sets of 45-60 seconds.
9. Bicycle Crunches
- Target: Abs, Obliques.
- Form: Lie on back, hands behind head. Bring opposite elbow to opposite knee while extending the other leg.
- Sets/Reps: 3 sets of 20 reps total.
Part 5: Cardio & Conditioning (The Fat Burner)
To maximize calorie burn without spending hours on a treadmill, we use HIIT (High-Intensity Interval Training).
The 10-Minute Finisher: Perform each exercise for 45 seconds, rest for 15 seconds.
- Burpees: The ultimate full-body exercise.
- Mountain Climbers: Core and cardio.
- High Knees: Sprint in place.
- Jump Squats: Leg power.
Rest for 2 minutes, then repeat the circuit one more time.
How to Apply Progressive Overload at Home (The Secret Sauce)
If you do 10 pushups every day for a year, you will not get significantly stronger. Your body will adapt. You must increase the difficulty.
1. The “2-Up, 1-Down” Method When doing pushups or squats:
- Push up explosively (concentric phase).
- Lower yourself very slowly (eccentric phase). Count “1-Mississippi, 2-Mississippi, 3-Mississippi” as you go down.
- This breaks down more muscle fibers, leading to more growth.
2. Tempo Manipulation Instead of pumping out reps as fast as possible, control the movement. Use a 2-0-2 tempo (2 seconds down, no pause, 2 seconds up). Time Under Tension (TUT) is a massive driver of hypertrophy.
3. Increasing Frequency Instead of training a muscle once a week, train it 3 times a week. The volume adds up.
Nutrition: Fueling Your Home Workouts
You cannot out-train a bad diet, as discussed in our previous guides.
- Pre-Workout: Eat a light meal 1-2 hours before. A banana and a spoonful of peanut butter is excellent for energy.
- Post-Workout (The Anabolic Window): You need protein within 45-60 minutes of training to repair muscles. A protein shake, eggs, or a chicken breast is ideal.
- Hydration: Muscles are 75% water. If you are dehydrated, your strength drops by up to 20%. Drink water throughout the day, not just during the workout.
Recovery: Why You Grow When You Rest
You don’t grow muscle in the gym; you break it down. You grow muscle while you sleep.
- Sleep: Aim for 7-9 hours. This is when Growth Hormone is released.
- Rest Days: Do not train the same muscle group two days in a row. For example, if you do an intense leg workout, rest your legs the next day (maybe focus on core or do light cardio).
- Active Recovery: On off days, don’t just sit on the couch. Go for a long walk. This flushes out metabolic waste and helps reduce soreness.
Common Home Workout Mistakes to Avoid
- Training in Socks: This leads to slipping and bad form. Wear training shoes for grip and ankle support.
- Neglecting Wrist Warm-ups: If you do a lot of pushups, your wrists are under load. Rotate your wrists gently before starting.
- Ego Lifting: Trying to do a pushup with bad form just to say you did it is useless. Quality over quantity always. A perfect 10 reps are better than 20 sloppy ones.
- The “Same Routine” Trap: Change the exercises every 4-6 weeks to prevent boredom and “plateauing.”
Your 4-Week Transformation Plan
To help you stay consistent, follow this schedule:
- Week 1: Focus on Form. Don’t worry about reps. Master the technique.
- Week 2: Focus on Consistency. Make sure you hit every workout day.
- Week 3: Focus on Volume. Try to increase reps or decrease rest times.
- Week 4: Focus on Intensity. Use the “2-Up, 1-Down” slow method mentioned above.
Conclusion
Your living room is no longer just a place to relax; it is your new sanctuary for self-improvement. Building muscle at home is entirely possible, provided you treat it with the same seriousness you would a gym membership.
Consistency is your greatest weapon. There will be days when you don’t feel like working out. Do it anyway. That discipline is what separates the healthy from the unhealthy.
Remember, fitness is a journey, not a destination. Start with the basics outlined above, master the movements, and gradually increase the intensity. The body you want is possible to build right where you are.
Are you ready to break a sweat? Start your first session today!
Looking for a specific meal plan to support this workout? Read our Ultimate Keto Guide to fuel your body
Need to lose more weight? Check out the Science of Weight Loss here